
A Comprehensive Guide to SQL Server Removal
Related Articles: A Comprehensive Guide to SQL Server Removal
Introduction
In this auspicious occasion, we are delighted to delve into the intriguing topic related to A Comprehensive Guide to SQL Server Removal. Let’s weave interesting information and offer fresh perspectives to the readers.
Table of Content
A Comprehensive Guide to SQL Server Removal
SQL Server, a robust and powerful relational database management system, is a cornerstone for many organizations. However, situations may arise where removing SQL Server becomes necessary. Whether it’s due to system upgrades, software migrations, or simply no longer needing its functionality, understanding the process of uninstalling SQL Server is crucial. This guide provides a detailed overview of the process, encompassing various aspects, and aims to equip users with the knowledge to safely and efficiently remove SQL Server from their systems.
Understanding the Importance of a Clean Uninstall
Removing SQL Server is not merely a matter of deleting files and folders. A thorough uninstall ensures the complete removal of all associated components, configurations, and dependencies, leaving no traces behind. This process is critical for several reasons:
- Preventing Conflicts: An incomplete uninstall can lead to conflicts with subsequent installations of SQL Server or other software that rely on its components.
- Maintaining System Integrity: Residual files or configurations can affect system performance and stability, potentially causing errors or unexpected behavior.
- Data Security: Removing SQL Server without proper procedures might leave sensitive data exposed, compromising security.
- Preparing for Reinstallation: A clean uninstall is essential if you plan to reinstall SQL Server on the same system.
Prerequisites for Removal
Before embarking on the uninstall process, several preparatory steps are essential:
- Back Up Your Data: Always back up your SQL Server databases and any other critical data before proceeding. This is a crucial step to ensure data recovery in case of any unforeseen issues.
- Stop All SQL Server Services: Ensure that all SQL Server services are stopped. This can be done through the Windows Services Manager or the SQL Server Configuration Manager.
- Disconnect Users: Ensure that no users are connected to the SQL Server instance. This prevents data corruption or loss during the uninstall process.
- Review Dependencies: Identify any applications or services that rely on SQL Server. If possible, either temporarily disable these dependencies or plan for their removal alongside SQL Server.
Methods for Removing SQL Server
There are primarily two methods for removing SQL Server:
-
Using the Setup Wizard: This is the recommended method for a standard uninstall. The Setup Wizard provides a user-friendly interface, guiding users through the removal process. It automatically identifies and removes all relevant components.
-
Using Command-Line Options: For advanced users, command-line options offer more control and flexibility. This method is particularly useful for scripted uninstalls or removing specific components.
Step-by-Step Guide to Uninstall using the Setup Wizard
- Open the Control Panel: Locate the Control Panel on your Windows system.
- Navigate to Programs and Features: Within the Control Panel, access the "Programs and Features" or "Add or Remove Programs" section.
- Locate SQL Server: Find the entry for the SQL Server instance you want to remove.
- Initiate Uninstall: Right-click on the SQL Server entry and select "Uninstall."
- Follow the Wizard Instructions: The SQL Server Setup Wizard will guide you through the uninstall process. It will prompt you to confirm the removal and may present options for removing specific components.
- Confirm the Removal: Carefully review the information displayed by the wizard. If you are satisfied with the options, click "Uninstall" to proceed.
- Complete the Process: The wizard will remove SQL Server and its associated components. It may require a system reboot to complete the process.
Using Command-Line Options for Uninstallation
- Open Command Prompt: Open the Command Prompt as an administrator.
-
Navigate to the Setup Directory: Use the
cdcommand to navigate to the directory where the SQL Server setup files are located. -
Execute the Uninstall Command: Execute the following command, replacing
<instance_name>with the name of the SQL Server instance you want to remove:
setup.exe /ACTION=REMOVE /INSTANCENAME=<instance_name>Additional Considerations
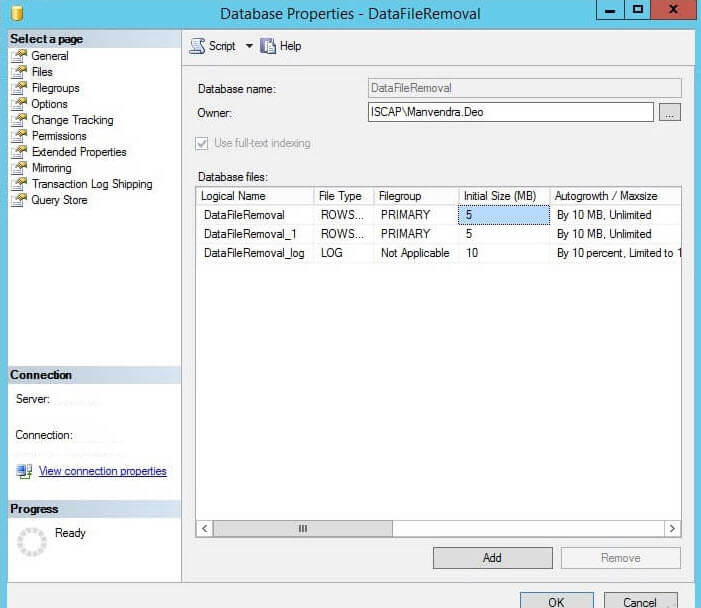
- Removing Specific Components: The Setup Wizard and command-line options allow for the removal of specific SQL Server components. For example, you can remove specific features, such as SQL Server Management Studio (SSMS) or Reporting Services, without removing the entire instance.
- Removing Shared Components: SQL Server installations often share components with other applications. Be cautious while removing SQL Server to avoid impacting other software that might rely on these shared components.
- Uninstalling Multiple Instances: If you have multiple SQL Server instances installed, you can remove them individually by repeating the uninstall process for each instance.
Frequently Asked Questions
Q: What happens to my databases during the uninstall process?
A: The databases associated with the SQL Server instance you are removing will not be automatically deleted. However, they will become inaccessible after the uninstall. You should back up your databases before removing SQL Server to ensure data recovery.
Q: Can I reinstall SQL Server on the same system after uninstalling it?
A: Yes, you can reinstall SQL Server on the same system after a clean uninstall. However, ensure that you have removed all traces of the previous installation, including any residual files or configurations.
Q: What if the uninstall process fails or encounters errors?
A: If the uninstall process fails, try running the Setup Wizard again. If the problem persists, consult the SQL Server documentation or seek assistance from Microsoft support.
Tips for a Successful Uninstall
- Plan Ahead: Before starting the uninstall process, carefully plan the steps and consider potential dependencies.
- Document the Process: Keep a record of the steps you take, including any configurations or changes made. This documentation will be helpful if you need to revert to a previous state.
- Use the Latest Setup Files: Ensure that you are using the latest SQL Server Setup files for the uninstall process. Older versions may not be compatible with newer operating systems or configurations.
- Verify Removal: After the uninstall process is complete, verify that all SQL Server components have been removed. Check for any remaining files or configurations.
Conclusion
Removing SQL Server requires a systematic and meticulous approach. By understanding the importance of a clean uninstall, following the recommended steps, and considering the additional considerations outlined in this guide, users can ensure a successful and efficient removal process. This will prevent conflicts, maintain system integrity, and prepare the system for future deployments or software upgrades. Remember, a clean uninstall ensures a smooth transition and sets the stage for future success.


Closure
Thus, we hope this article has provided valuable insights into A Comprehensive Guide to SQL Server Removal. We appreciate your attention to our article. See you in our next article!